PINTEREST

Showing posts with label tot school. Show all posts

Friday, January 10, 2014

The Cutting Bin

 
The cutting bin is such a hit with my kids!
 
This bin is super easy to set up and keeps the kids busy for at least 20-30 minutes!
It is so flexible because you can add just about anything. Here is a list of materials I add (I alternate what I include to keep it different and exciting each time I bring it out)
 
Safety scissors
hole puncher
paint swatches
scrapbooking paper
ribbon
paper bags
foam sheets
strips of construction paper
tissue paper
 
 
Here are some action shots.


 I hope this inspires you to make your own cutting bin!


Tuesday, December 31, 2013

The Busy Box

 
When I saw this post over on Happy Hooligans http://happyhooligans.ca/drop-box/  I knew I had to make one!

 You really can use anything to make this busy box! I used a cardboard box, popsicle sticks, coloured stones, beads, wooden pegs & paint swatches.
 
This busy box kept her busy for over 30 minutes!  She then showed her 2 year old friend how to do it for another 20 minutes! She LOVES it!
 
Here are some more pictures:


 So proud of herself!
 

Saturday, November 23, 2013

THE RESULTS OF OUR BEAR UNIT STUDY!

 
I just had to upload some pictures of how great our week turned out!

Here is Little M  walking across "ice".  Mamma just happened to bring us some styrofoam from her work and I knew I would find a good use for it!  The kids had so much fun creating an "ice platform" to walk across in their boots.


Here is a cute Polar Bear craft little M made to help practise the letter B!
 
 
 Here is K making a bear and a fish out of clay. He then drew a picture if them in his Unit Study Notebook!
 
If you'd like to see the complete Bear unit study please click here: 
Bear Unit Study


.


Sunday, October 20, 2013

Learning Letters With Rocks!

 
Little M is 2.5 & has been so interested in letters lately that I thought I would make a fun game for her to play!
 
I took some rocks that we had collected yesterday while at the park and wrote some letters on them. I chose A, B & C for the letters because M is really just beginning to recognize them.
 
I bought the little containers from Dollarama (I looked for the kind that had the snapping lids) and then I added a strip of masking tape on each container and wrote a letter on each one.


Little M right away dumped all the rocks into one container.
 
 With the first couple of rocks I showed her how to sort them into separate containers and then she took it from there!
During this activity I kept mentioning the letters to her and coaching her on 1-2 words that go with each letter just to introduce her to the connection of letter & words. She has a great memory and she really enjoyed playing with this activity! 
 
Here are the words we used:
 
A is for apple/alligator
B is for Bro Bro & Brother
C is for cat


If you look closely at the labels you will see I drew little pictures after a few minutes to help sort them a little easier...she really liked that ;)

 
She then asked me if it was OK to take off the labels & play around with them, switching them to different containers.
This activity lasted about 30 mins. which is great for her age/attention span & she also played with it the next day as well for another 30 mins or so....I call that a success!

Thursday, October 17, 2013

Pumpkin Collage Art

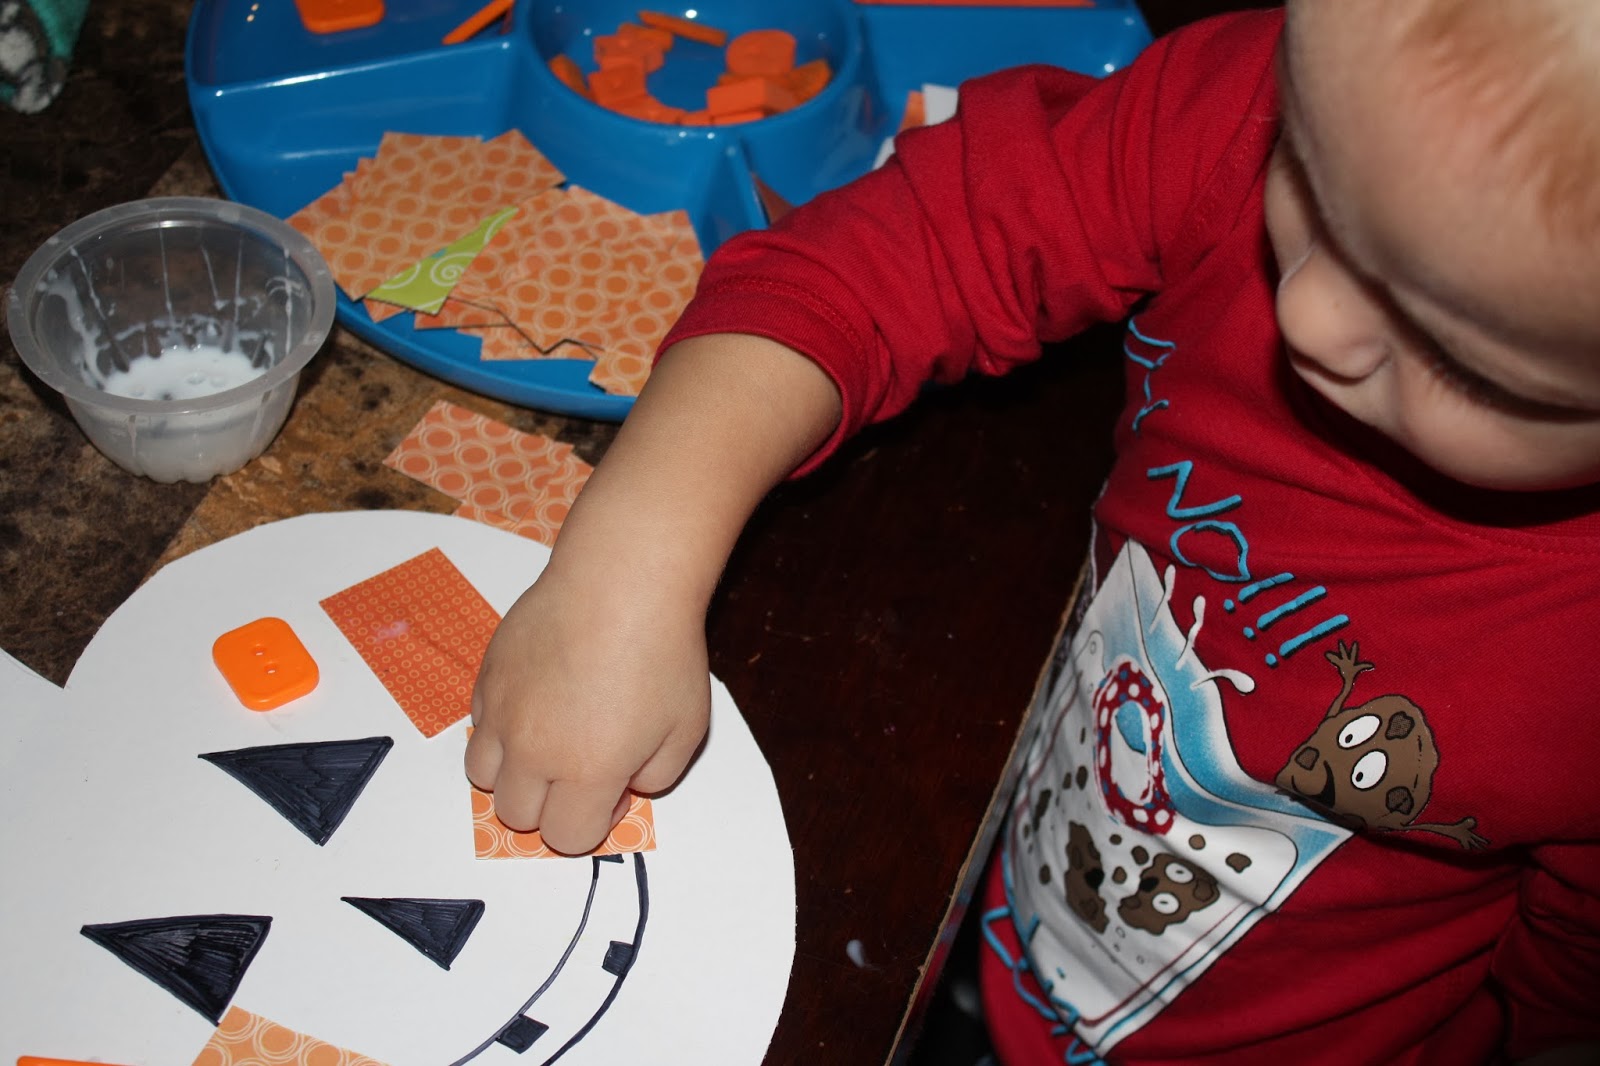
I stumbled upon this cute pumpkin craft on Pinterest & my daughter & daycare kids had a great time making it today!

I found it here:
http://www.two-daloo.com/2013/09/30/halloween-play-jack-olantern-collage/

Here is our version:


Here is Little M with her finished pumpkin. She LOVES it so much she carried it around all day & will not even let me hang it up to use for decoration...LOL  (I hole punched the stem & tied a string so I could hang it)


Here is one of my adorable daycare boys making one :)

Monday, October 7, 2013

Halloween Playdoh Fun!

 
Today we made some Halloween Playdoh!
This stuff smells great & the kids got creative &  made monsters with it.
 
We used: orange & green playdoh, googly eyes, orange & green buttons, Halloween picks, orange cookie cutters, orange pom poms.


Add the following ingredients into a large mixing bowl:
 
2 cups flour
4 tbsp. cream of tartar
2 tbsp. cooking oil
1 cup of salt
2 tbsp. nutmeg
 
Mix well & then add 2 cups of boiling water.  After combined separate the batch in half.  Sprinkle some flour onto the table & knead until it is soft & not sticky.  Add some orange food colouring to one batch & green food colouring to the other.
 
Store in an airtight container to keep fresh. This playdoh usually lasts us a month!


Sunday, October 6, 2013

THE LETTER A HOUSE PRINTABLE

 
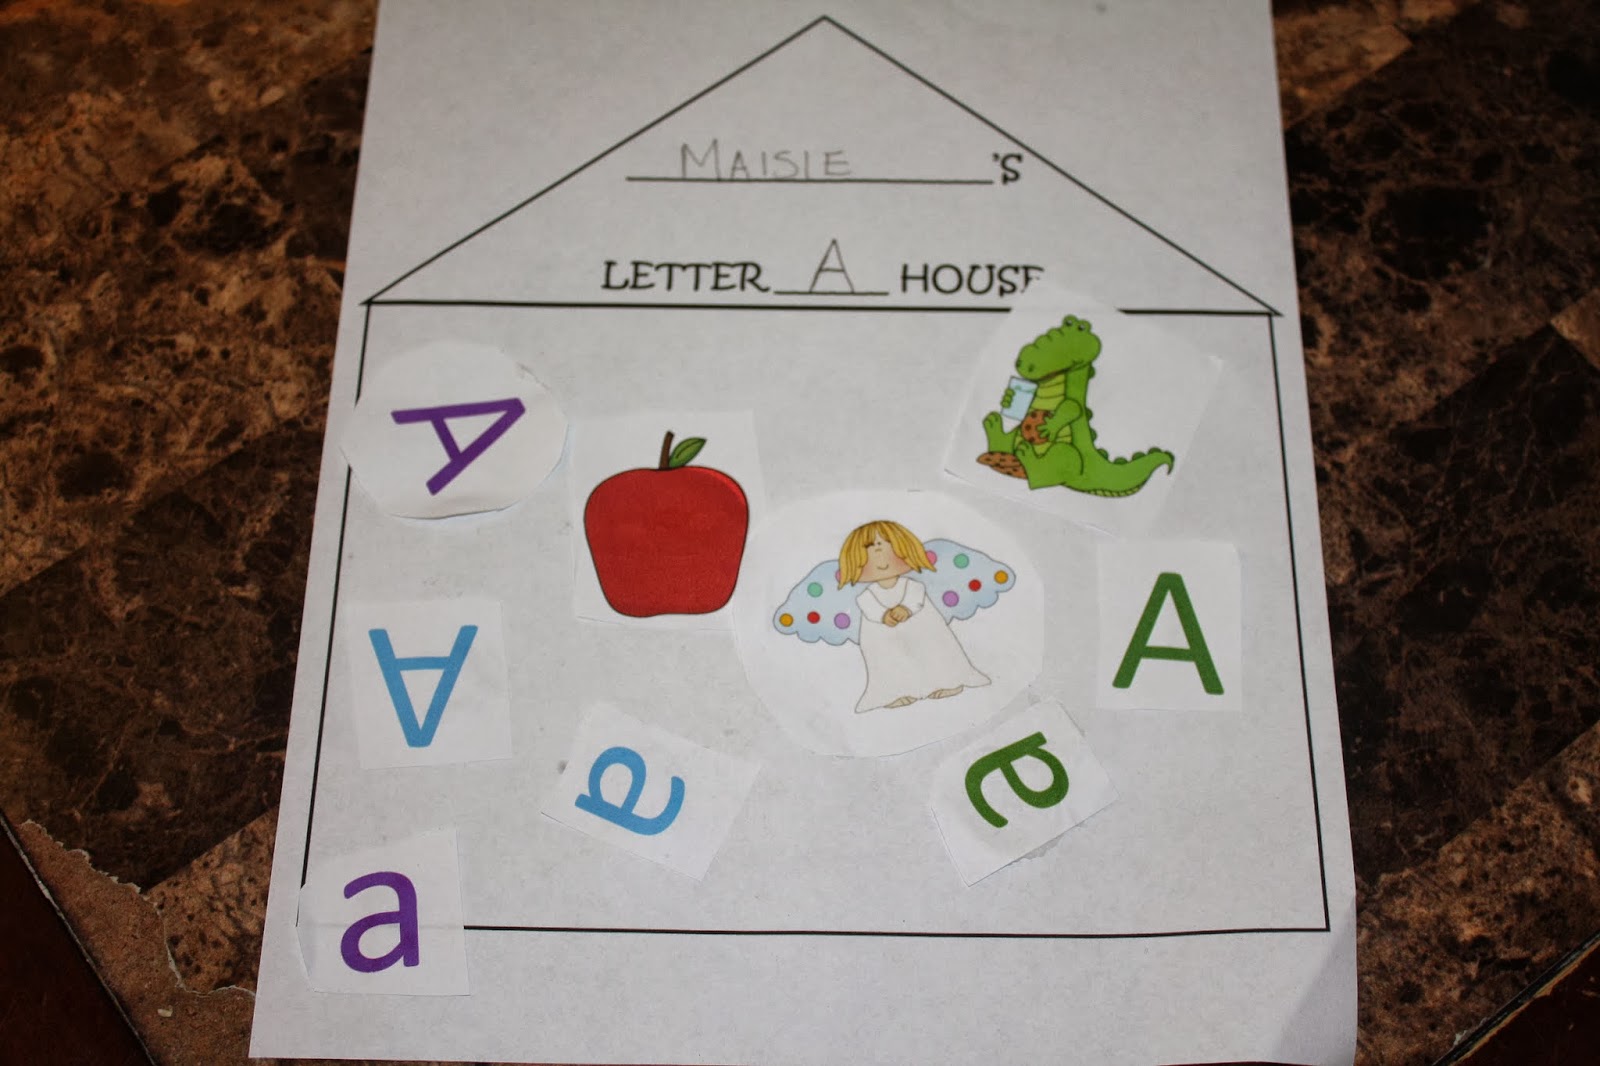
Little M had lots of fun working on her "Letter A House" printable!


She needed lots of help with the cutting because she isn't very good with the scissors yet ;)  She is able to hold the paper & cut little slits into the edges but she is not able to cut circles out yet. She did an excellent job with her gluing though!


During this craft we talked about the Letter A & what sound it makes. We also sang "the letter A says A (making the sound loudly) the letter A says A, Hi Ho the Derry-O the letter A says A!" We have sang this song before & it always seems to stick ;)


Here she is with the finished product....so proud!


If you'd like to do this fun printable with your little one feel free to download it  for FREE here:

http://www.teacherspayteachers.com/Product/THE-LETTER-HOUSE-PRINTABLE-914517

Don't forget to leave some feedback in my store!! Thanks :)

Thursday, September 26, 2013

Painting With Puffy Paint

Yesterday was such a beautiful day that we headed outside in the morning to do some painting with "puffy paint". I'm not sure how we have not tried this before! I know I pinned it on my pinterest a long time ago.....I'm SO glad we tried it because it was a lot of fun for the kids! 

Here is the recipe:

1/2 cup flour, 2 tsp baking powder, 2 tsp salt, food colouring, enough water to make a paste, and pieces of cardboard (that will fit in your microwave).

After they are done creating you just pop the cardboard into the microwave for 20-30 secs.


I`ll be honest...I didn`t follow the recipe at all ;) I was working on the fly with all the little ones anxiously waiting to get outside so I just ran to the cupboard, mixed the items together without measuring at all & voila! It turned out great :)  


K wanted to set the pictures to dry in the sun & "see if they would puff up in the sun"  He was very impressed when they did.
 

Here they are after being microwaved for 20-30 seconds.


They all had so much fun with this & were so proud of what they created!  They actually sat at the table while I made lunch feeling the textures on their cardboard :)

Sunday, September 15, 2013

"Find -A -Letter" Printable sheets!

Little M has started to really take an interest in the letters of the alphabet and daily she says to me "mommy can I do my homework?". I think it is because she sees her big brother doing his daily school work. 
Whatever the reason, I am going to enjoy the enthusiasm while it lasts!

I made these sheets up for her to go over letters and she LOVES them!! She loves the pictures and she loves using dabbers. She usually needs me to show her which letter to dab the first 2 times and then she finds them on her own after that.  She also asks me about  the other letters on the page :)
Hope your little one likes them too!!
 

After  she was finished this page she enjoyed giving herself stickers for all her hard work :)

 
Here is the pumpkin themed sheet:


I have made 6 of these printable sheets so far. Feel free to download them all here: